
如何安裝Disqus在自己的網頁中
適用對象
這篇文的適用對象是那些用Next.js framework實作自己的blog的人。我的blog是直接套用別人的模板,他是用Next.js實作的,如果是其他framework應該也大同小異,可以參考看看。
模板:https://vercel.com/templates/next.js/tailwind-css-starter-blog
步驟0: 註冊好Disqus
步驟1: 安裝Disqus
1. 進到admin之後,點擊右上角頭像,點擊Install on Site

2. 選擇你的方案
可以點最下面的Basic就好。 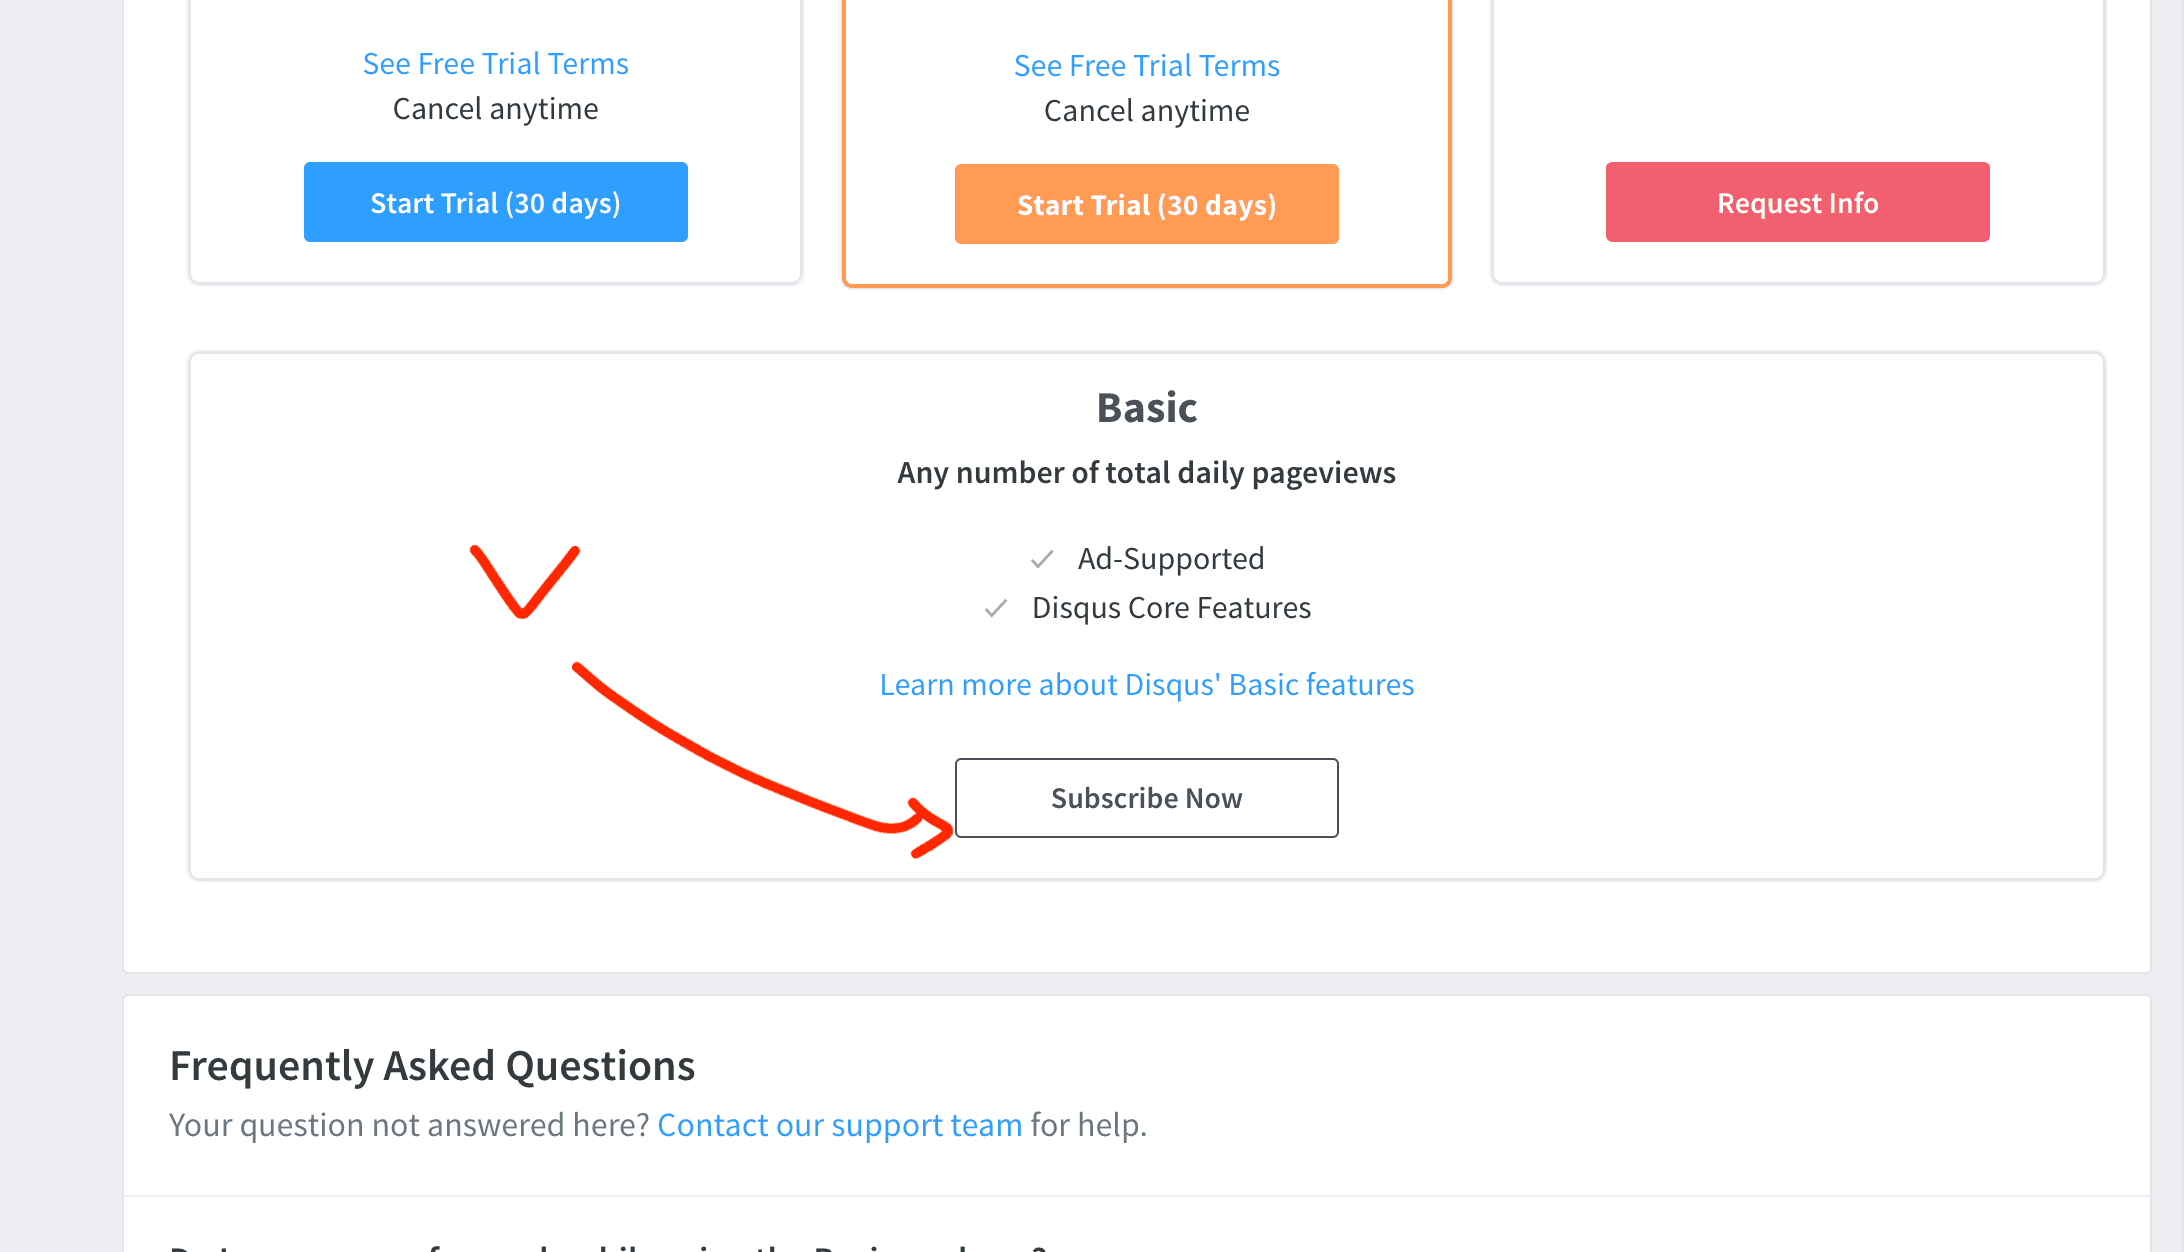
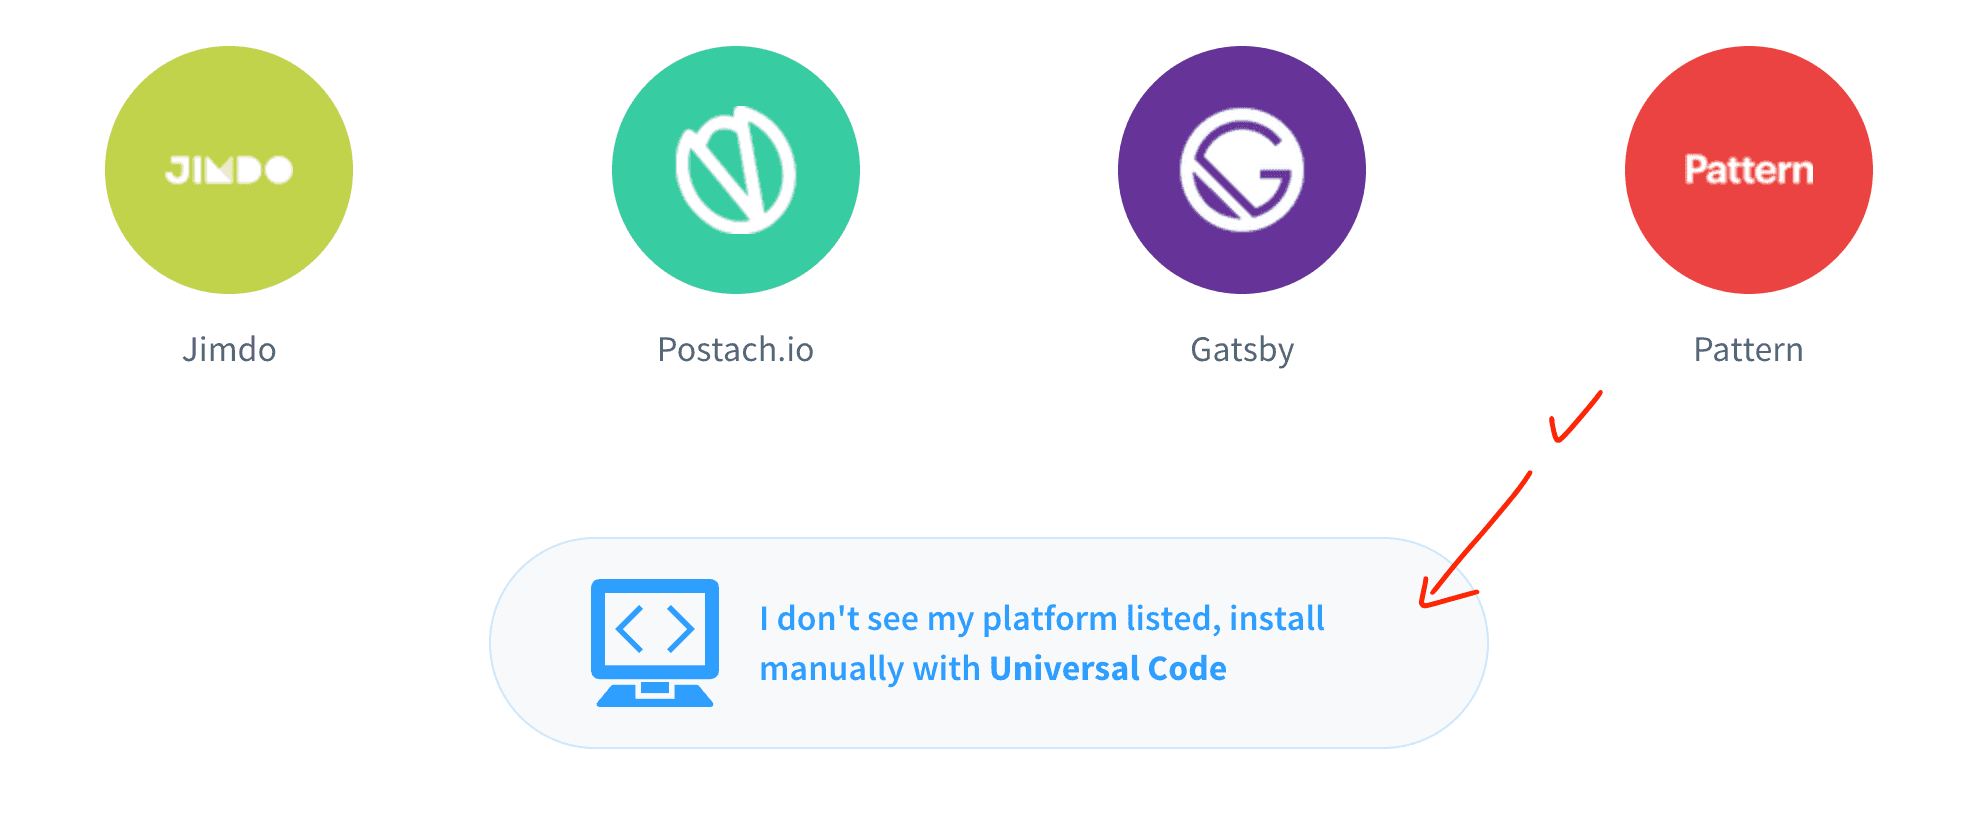
3. 選擇Platform
Platform記得要選Universal Code
4. 跳過 Install Instruction
5. Config Disqus
這邊的設定之後都可以再改。我們先在website URL處輸入你的blog網址。
6. 篩選模式
Balance 或是 Strict 你可以自己選用。我是用Balance。
7. 按Complete Setup
註冊完之後,你應該會擁有你的Shortname,在接下來的步驟裡面會用到。 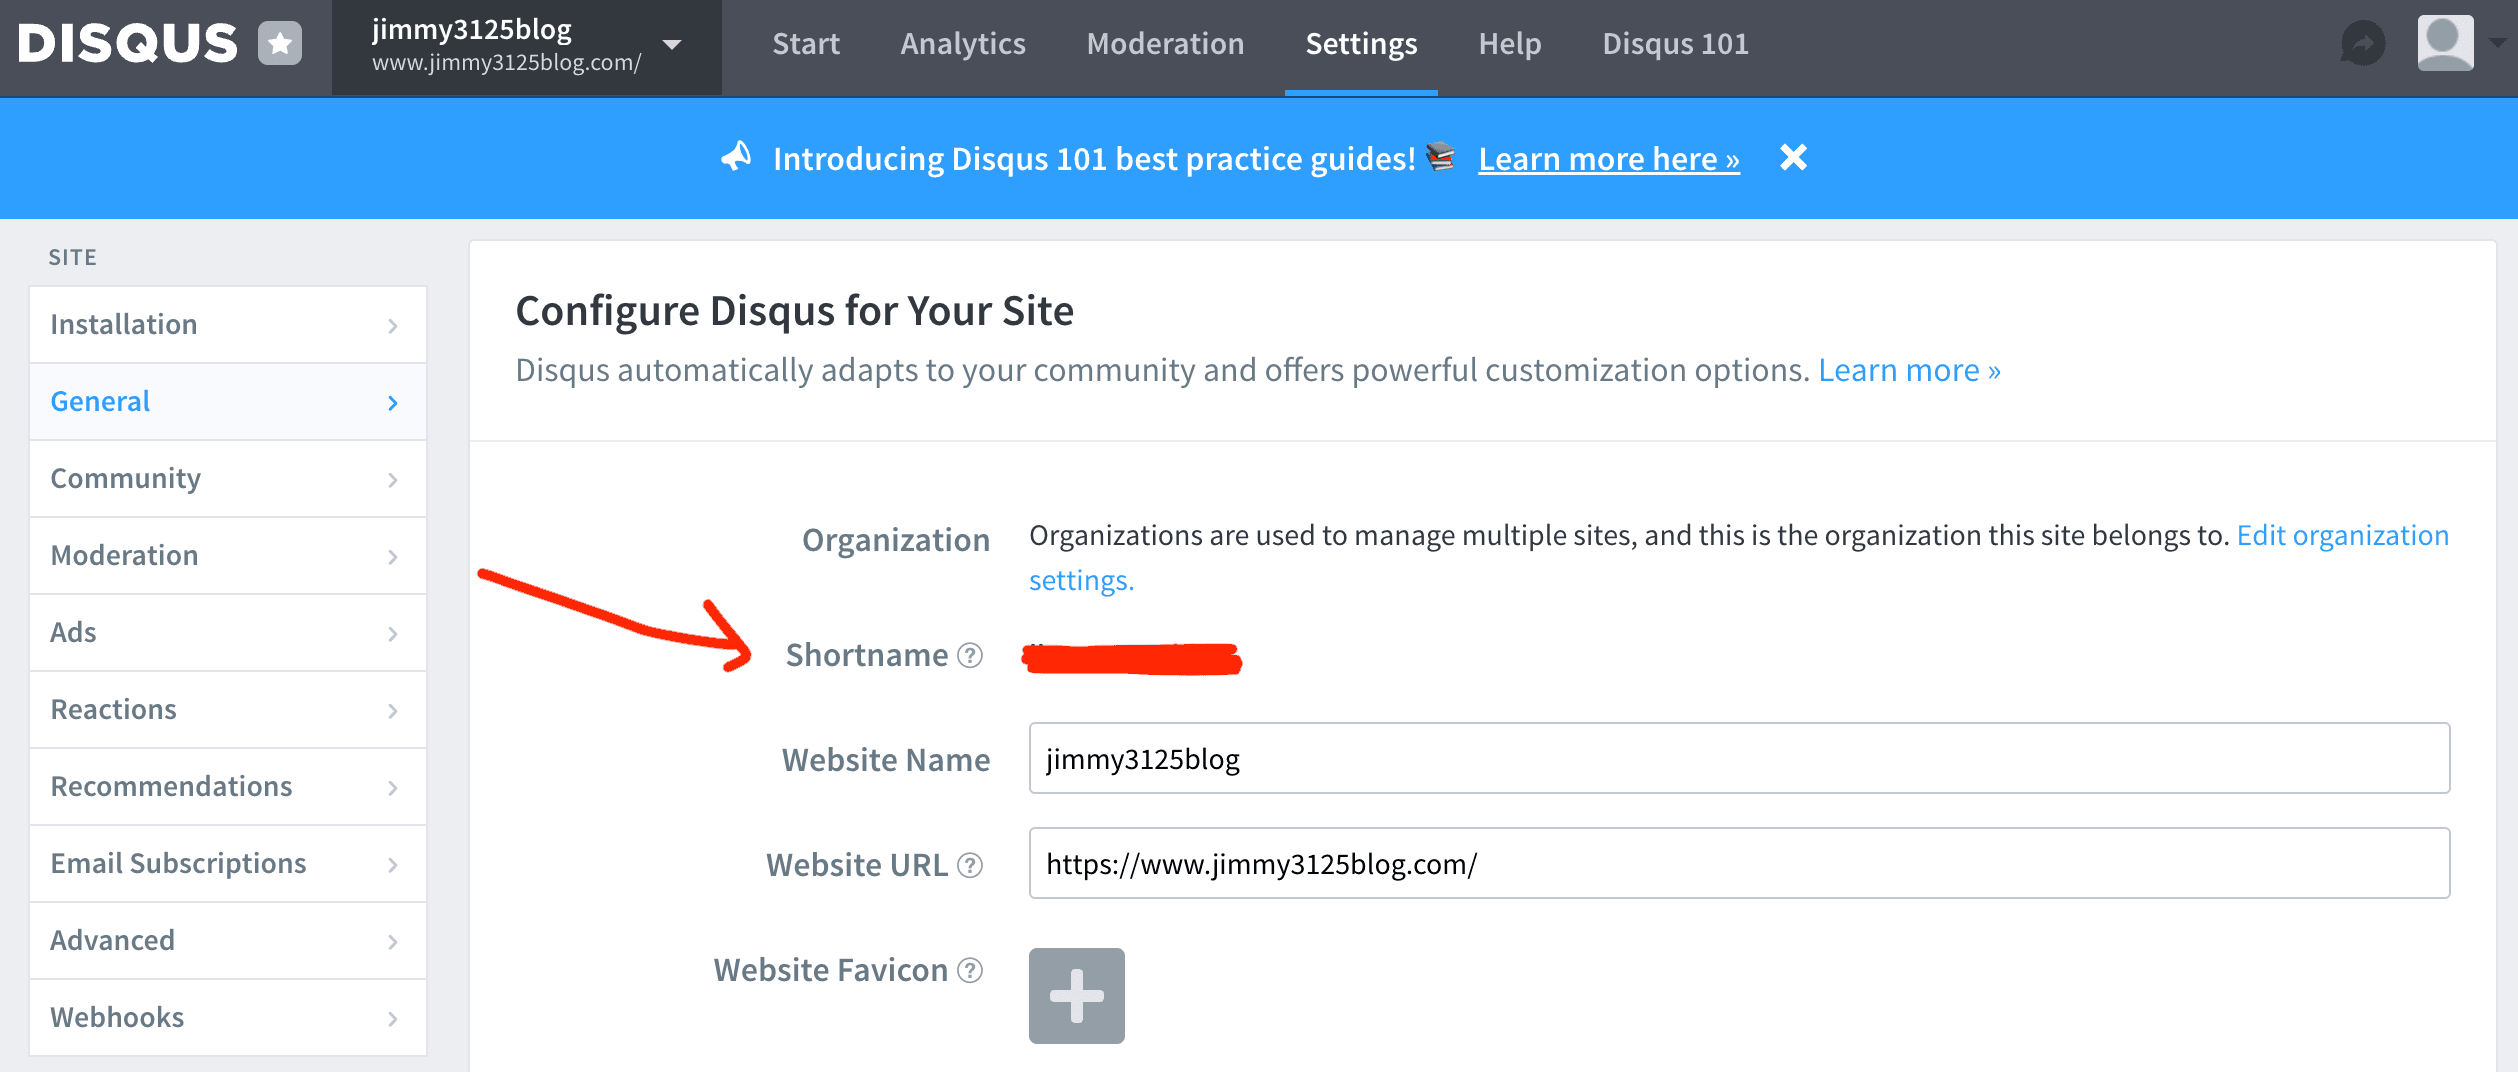
步驟2: 使用pliny套件
pliny是一個方便的工具包,對於架設網站非常好用。
1. 安裝pliny(如果已經安裝可以跳過)
https://github.com/timlrx/pliny
npm i pliny
2. 建立Comments.tsx:
import { Comments as CommentsComponent } from 'pliny/comments'
import type { DisqusConfig } from 'pliny/comments'

const config: DisqusConfig = {
  provider: 'disqus',
  disqusConfig: { shortname: 'YOURSHORTNAME' },
}

export default function Comments({ slug }: { slug: string }) {
  return (
    <CommentsComponent commentsConfig={config} slug={slug} />
  )
}
給套用模板的人:先在siteMetadata.js改好config,這邊就直接用
import { Comments as CommentsComponent } from 'pliny/comments'
import siteMetadata from '@/data/siteMetadata'

export default function Comments({ slug }: { slug: string }) {
  return (
    {!siteMetadata.comments && <div>No Comments</div>}
    {siteMetadata.comments && (
      <CommentsComponent commentsConfig={siteMetadata.comments} slug={slug} />
    )}
  )
}
3. 在你的Layout.tsx裡面引用它:
import Comments from "@/components/Comments"

export default function Layout({slug}) {
  return (
    <>
    .
    .
      <Comments slug={slug} />
    </>
  )
}
套用模板的人有福了,什麼都不用改。
4. 在你的next.config.js 裡面加入script-src 跟各種設定:(不然有可能會報錯)
const ContentSecurityPolicy = `
  default-src 'self' https://disqus.com;
  script-src 'self' 'unsafe-eval' 'unsafe-inline' analytics.umami.is https://SHORTNAME.disqus.com/embed.js;
  style-src 'self' 'unsafe-inline';
  img-src * blob: data: https://referrer.disqus.com;
  media-src *.s3.amazonaws.com;
  connect-src * https://links.services.disqus.com;
  font-src 'self';
  frame-src https://disqus.com;
`
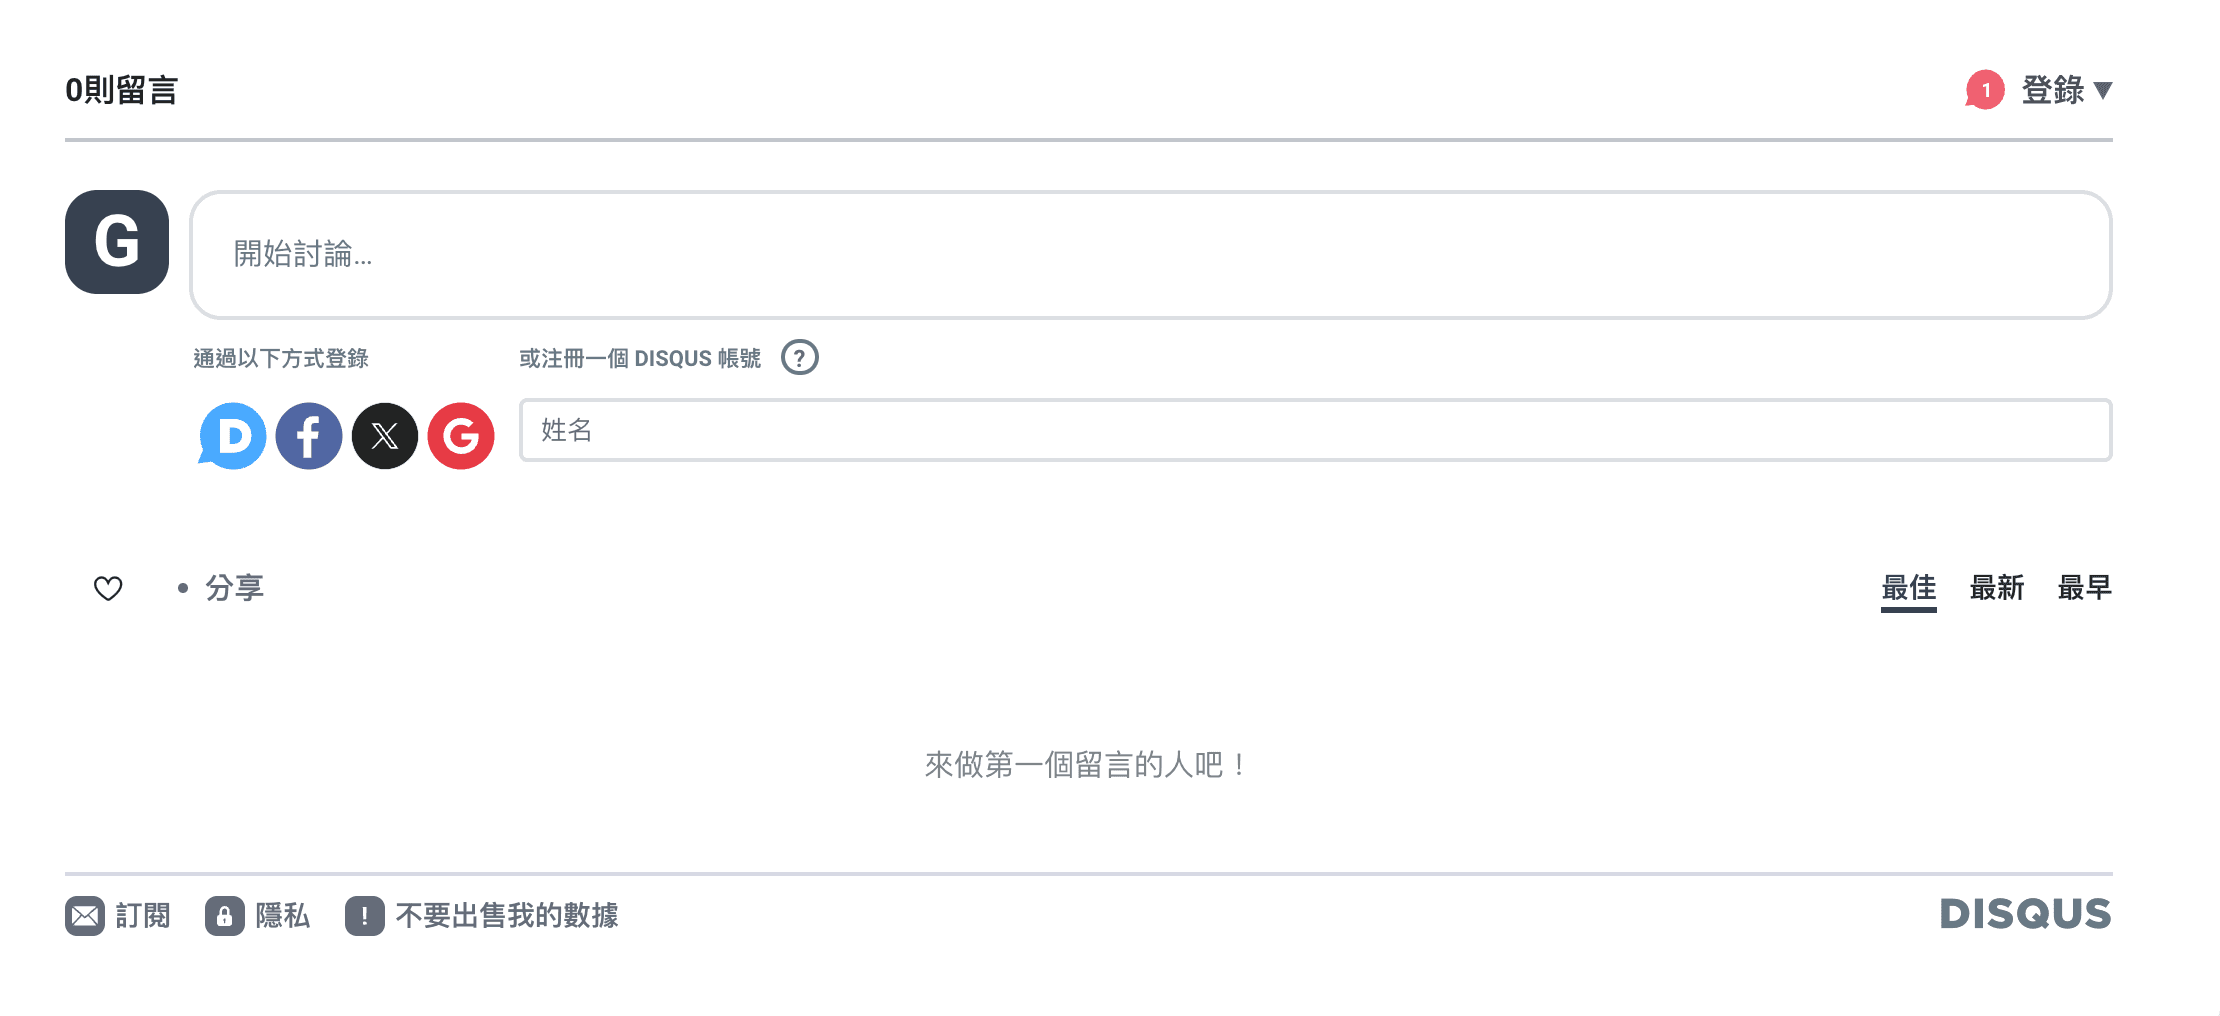
4. 刷新網頁後,便出現了!
Future Work: 明顯的效能問題
需要過至少5秒才會跑出來,我還不知道怎麼改。
好的這篇文就到此。如果喜歡的話可以幫我留言一下喔!